Product Design
Accessibility Design Study
My Role
Product Designer & Researcher
What I did
Product Design, CAD, 3D Printing, Prototyping & Testing
Duration
4 months
We have designed a world where only able-bodied people are welcome, while 1 in 7 U.S. adults has a mobility disability.
Not only is it our moral responsibility as designers to address the needs of our users, but as landmark accessibility lawsuits are beginning to indicate, it will be legally necessary as well.
So how can we incorporate inclusivity throughout our daily lives, in a way that is affordable and modular?
To narrow the scope in this study, I decided to focus on a space that impacts most, the home, and specifically the kitchen.
In the spring of 2019, I fractured my wrist and pinky while bike commuting.
The experience made it painfully clear how your home can transform into a hostile environment, where simple tasks become improbably difficult and frustrating. Home and kitchen alterations that increase accessibility are not financially feasible for many, and the situation becomes even more dire when staying at a hotel or an airbnb.
In the summer of 2019, I started my MA program. This gave me access to a maker space and CAD software, allowing me to run this study.
How might we alter our kitchen affordably and minimally, in order to maximize accessibility for all?
Research
For concept inspiration, I turned to other companies and organizations exploring similar accessibility design problem spaces.
ThisAbles
A collaborative effort between IKEA and Israeli nonprofits Milbat and Access Israel (Now McCann Tel Aviv), ThisAbles created 13 open-source add-ons for IKEA furniture and products that fit within their design style. These add-ons are free to download, and can be independently 3D printed at home.
OXO Good Grips
Household product entrepreneur Sam Farber and his wife, Betsey, wanted to create kitchen gadgets that wouldn’t aggravate arthritis symptoms. They started with a peeler, frequently collaborating with the American Arthritis Foundation for testing, and ended with the affordable and easy to find OXO Good Grips line.
[Photo: Oxo]
Product Design
After some consideration, I decided to tackle a simple task in the kitchen: opening and closing appliances.
Handle
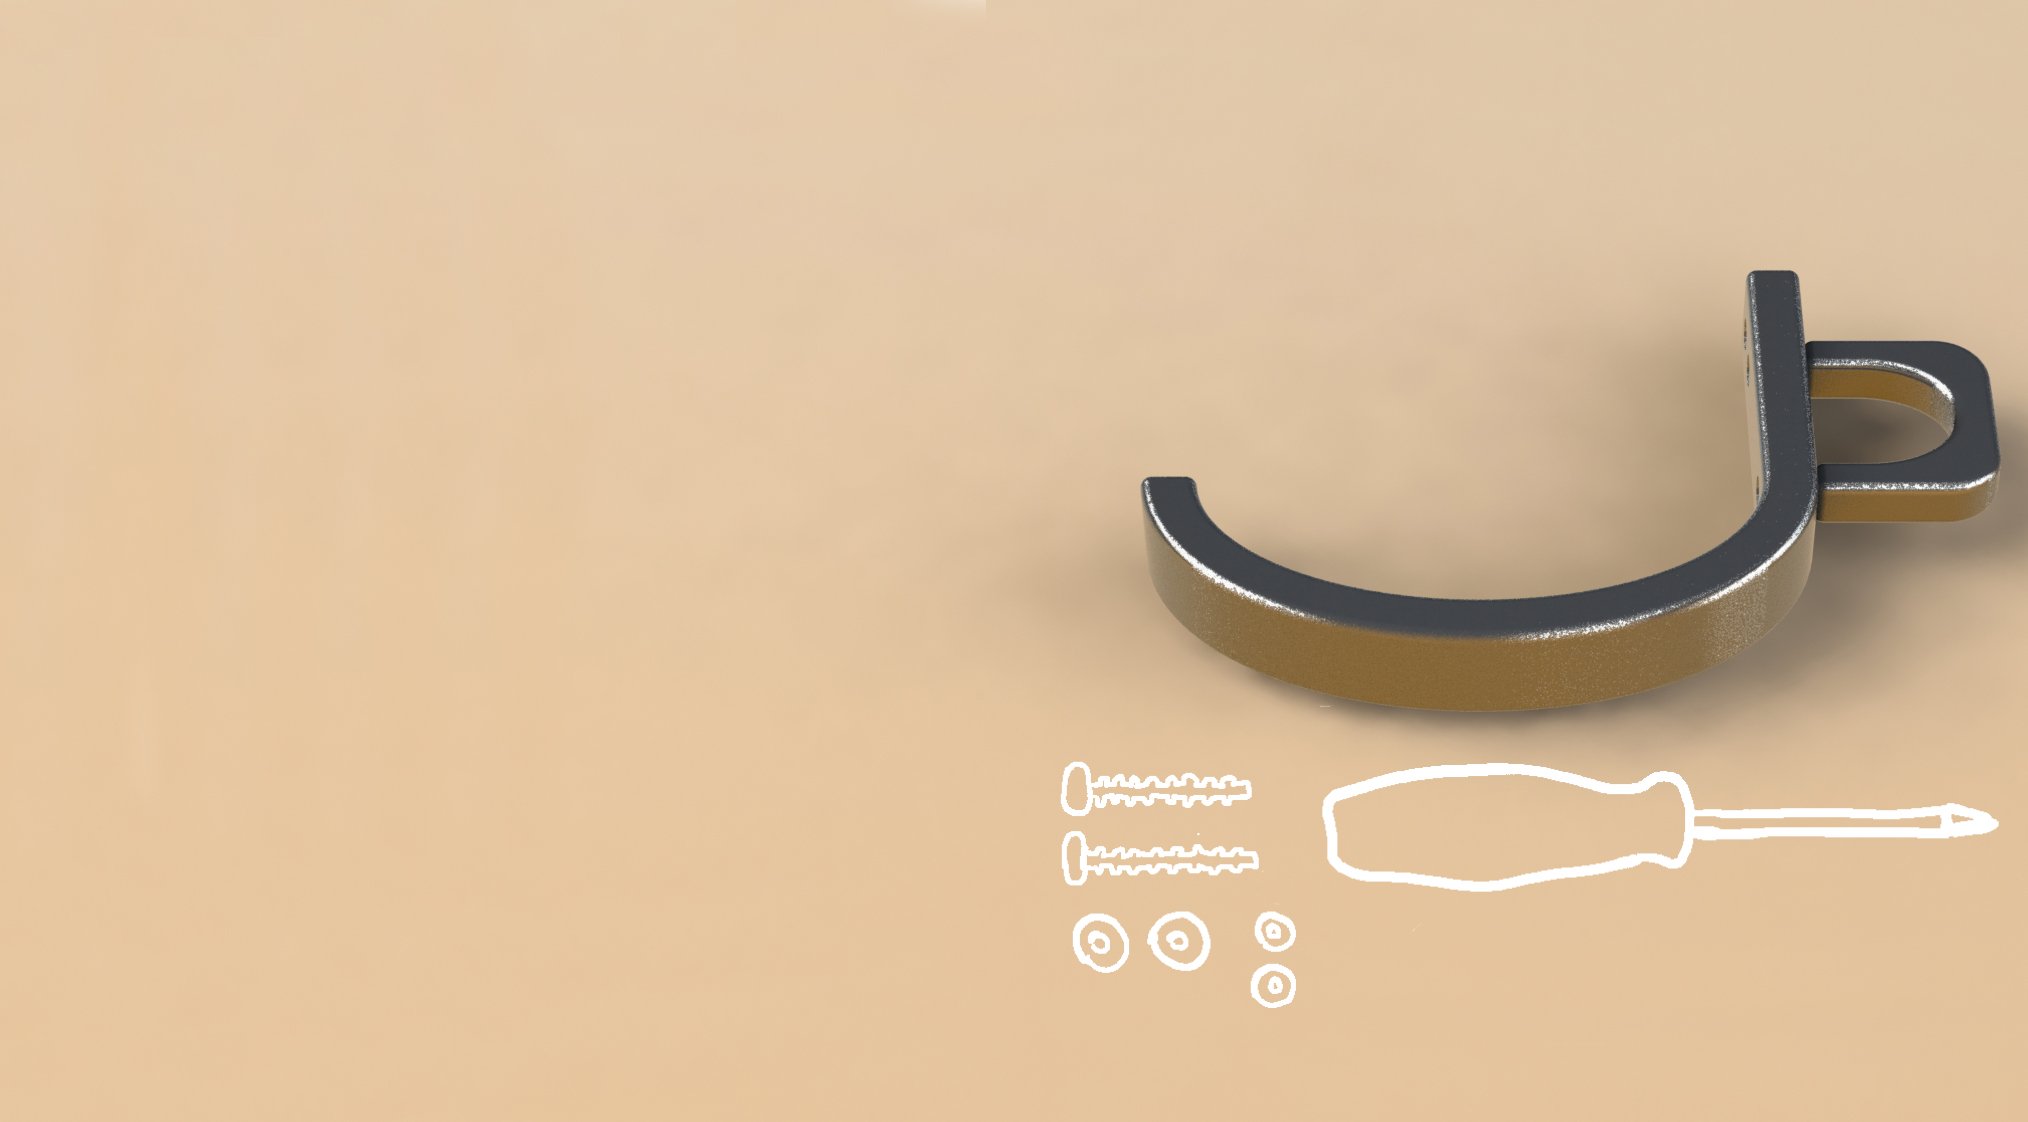
The sleek design matches most modern kitchen appliances. Its tapered edge reduces the risk of slippage when pulling pressure is applied.
Clamp
As kitchen appliance handles can vary dramatically, I wanted the user to be able to submit their own measurements, which in turn modifies the clamp to fit.
Assembly
For this study, handles were installed on my fridge, oven, and microwave. A handle was also temporarily installed in my graduate school studio’s kitchen, to maximize user input and test efficacy.
In keeping with the open-source formula, only four items would be required on the consumer’s end: a screwdriver, (2) 6/32 countersink head cap screws, (2) washers, and (1) strip of adhesive foam rubber.
Product Iterations
Paper
I started out each design iteration by sketching the concept, how it would be constructed and assembled.
Prototyping
I went through 3 handle iterations and 4 clamp iterations, 3D printing each version to test assembly & ease of use. I created 3 clamp sizes for the final version, in order to accommodate my oven, fridge and microwave handles.
The final version required the use of a soldering gun in order to melt brass threaded inserts into the screw holes for each clamp.
CAD
I used Solidworks, a solid modeling computer-aided design, to create the parts and assemblies.
Mockups
I wanted to imagine what this product could look like if it were manufactured using stainless steel or higher quality plastics, rather than PLA 3D printing plastic material.
Stress Testing
After breaking my first handle on it’s first trial, I began to use Solidworks to stress test prior to 3D printing.
Documentation
Through this process, I documented each stage via Medium, as part of my Fall capstone project. Click this link if you would like more detail on this study.
Final Design
Easy to use handle
The final iteration successfully allows the user to easily open and close most kitchen appliance doors with a handle by simply hooking their forearm and either pulling forward or pushing back.
This removes the need for wrist flexion and grip force production (the FDP and FPL muscles), as well as wrist extension and grip relaxation (the EDC muscle).


